

Accounting tags are set up to allow the organization to categorize GL entries. E.g. Branches, Divisions, expense account groupings, any classification that cannot be captured in ID’s, or other GL transaction fields.
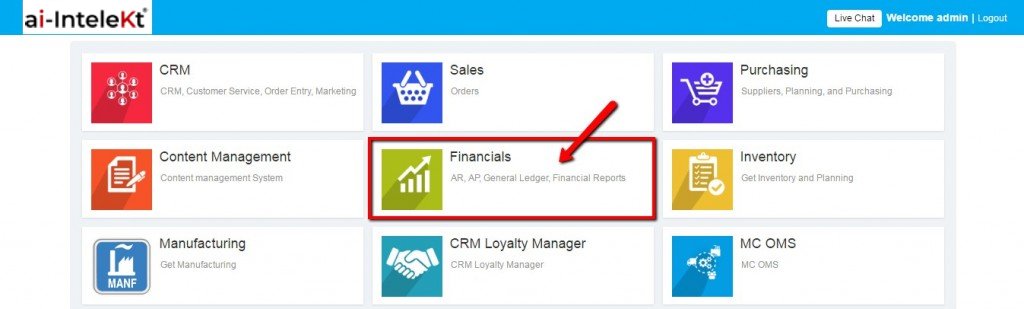
Login to the application, select “Financials” module.
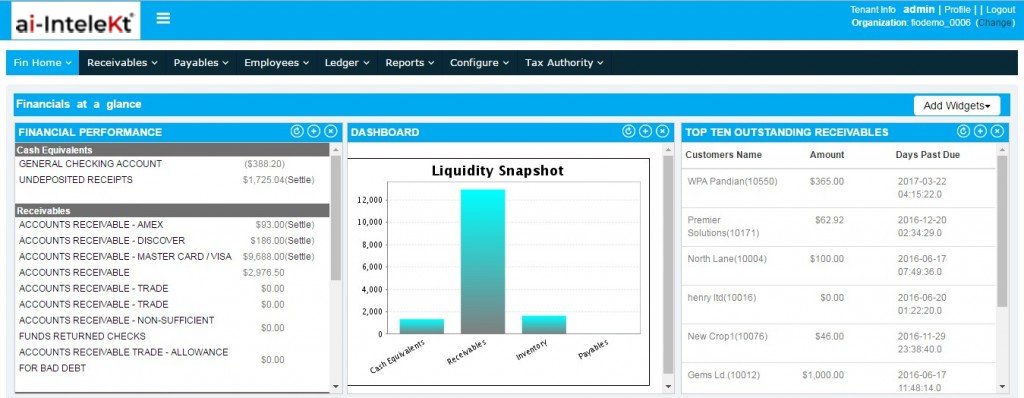
Financials home page will be displayed.
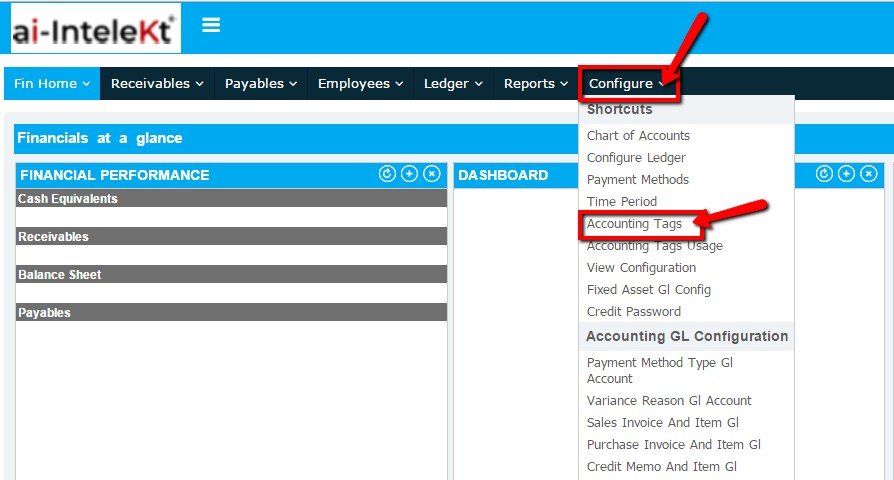
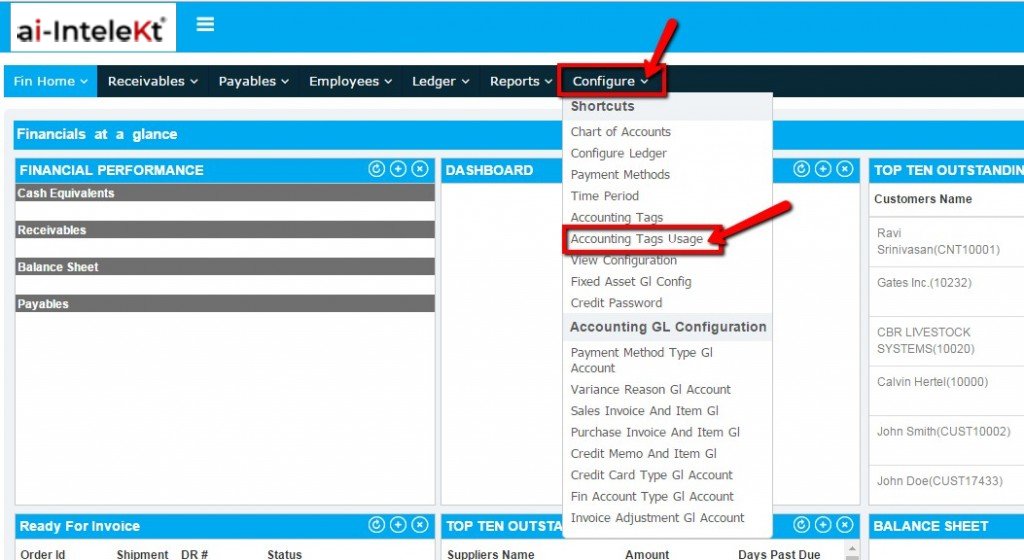
To setup Accounting Tags, select “Accounting Tags” link from “Configure” tab.
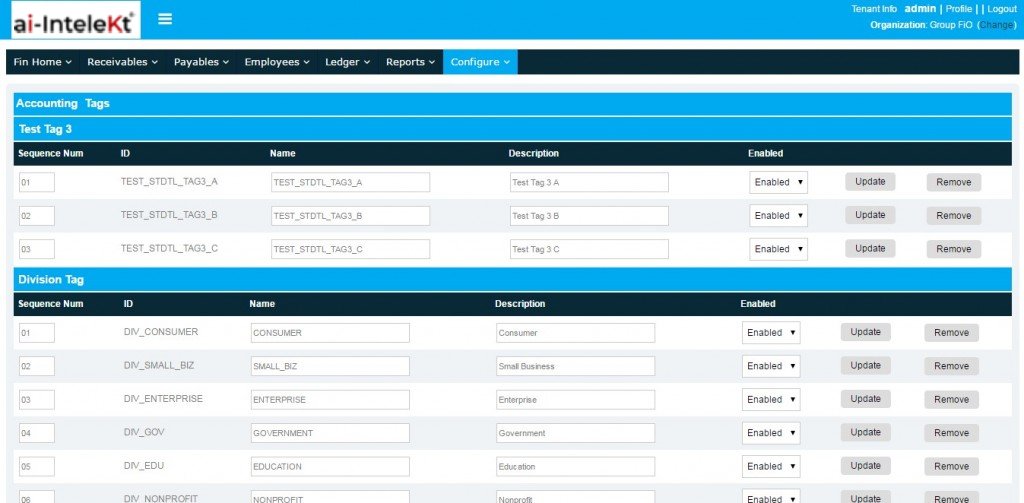
Accounting Tags page will be displayed.
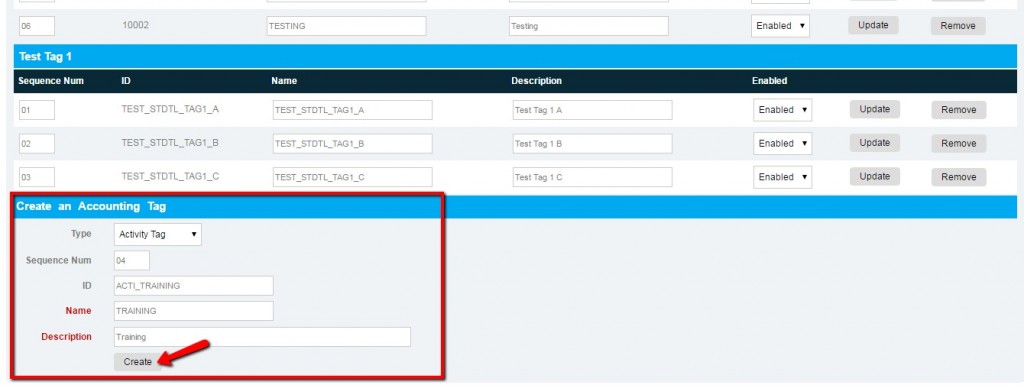
In “Create an Accounting Tag” section, enter the following details and click on “Create” button.
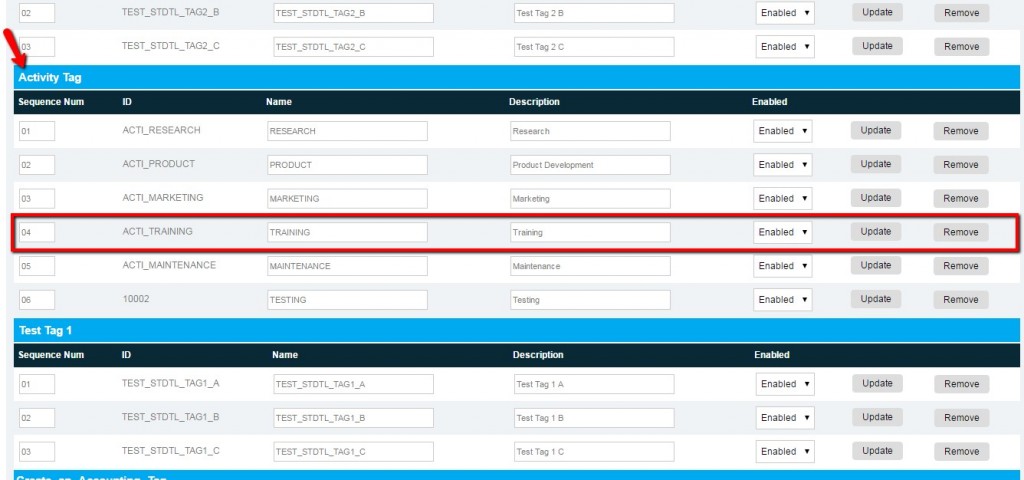
The Accounting tag created will be added in its corresponding tag type section.
There is an option to enable/disable the tags by selecting ‘Enabled’ or ‘Disabled’ dropdown in its corresponding tag and click on “Update” button.
You can also update the tag details, edit the tag details and select ‘Update’ button. The edited details will be updated for that particular tag.
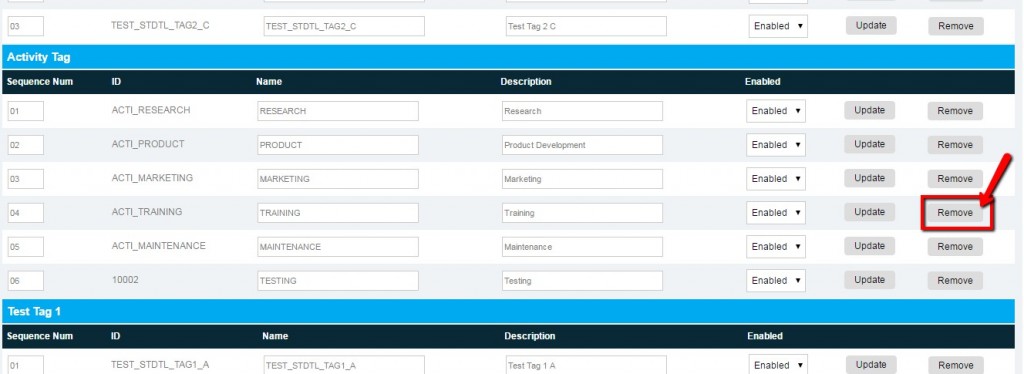
You can also remove the tag by selecting “Remove” button.
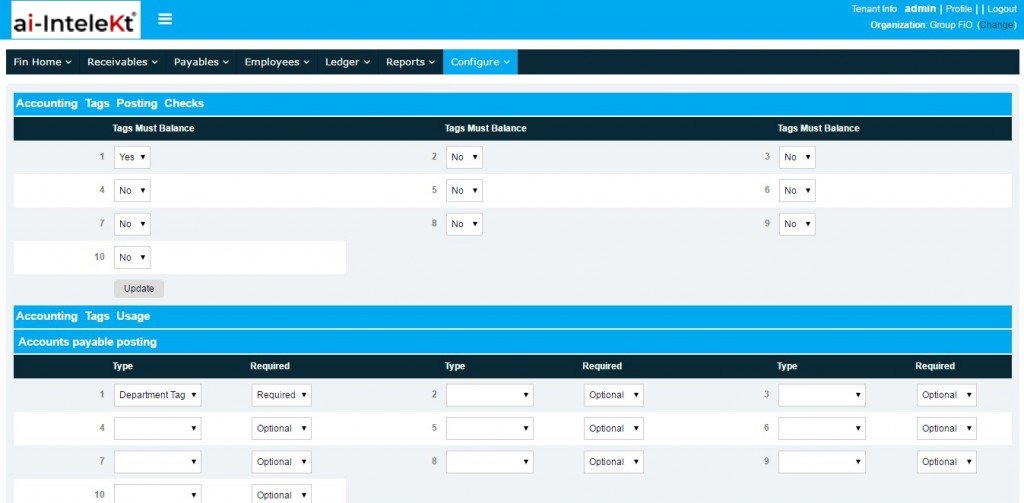
Accounting Tags are controlled by assigning the tags to each screen. Up to 10 tags can be assigned to each screen. They can be set to “Optional”, meaning that the user does not need to provide a value to post the transaction, or “Required” where the users must provide a value for the entry to post.
To assign the accounting tags to each screen, select “Accounting Tags Usage” link from “Configure” tab.
Accounting usage page will be displayed.
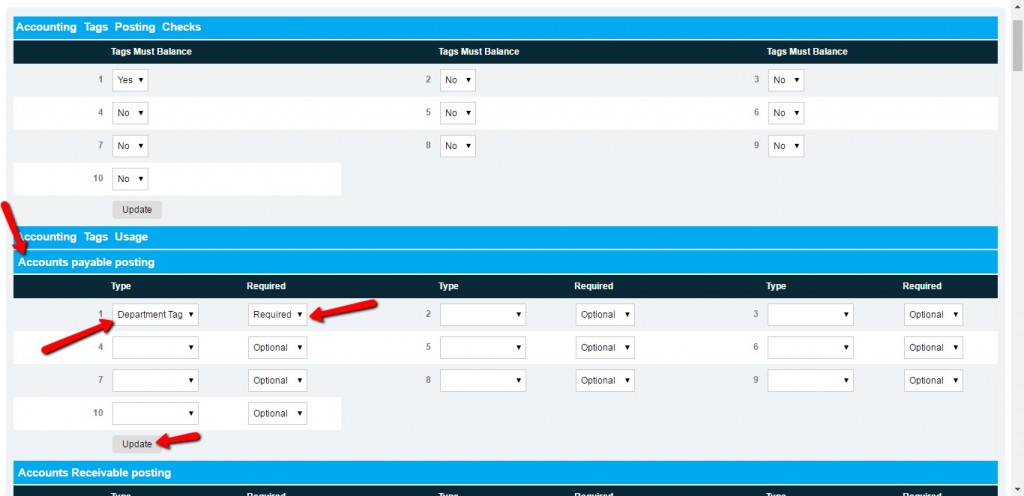
Select the tag type from the dropdown and select whether it is optional or required and click on “Update” button in which section the tag must be displayed.