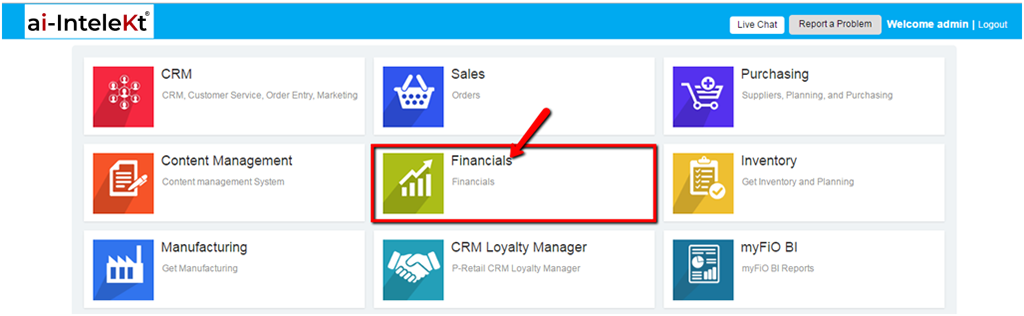


1. Click the “FINANCIALS MODULE” icon.
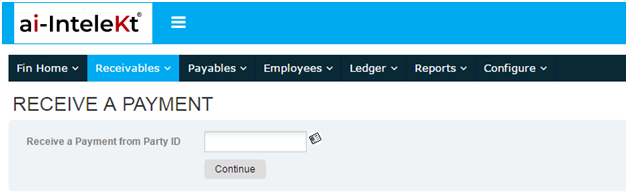
2. Click the “RECEIVABLES” button located at the top navigation bar.
3. Click on “RECEIVE A PAYMENT” button found at the left side bar.
4. Enter a letter or keyword to find the Party ID.
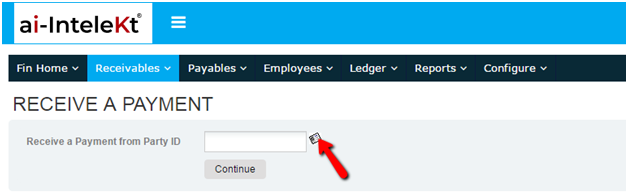
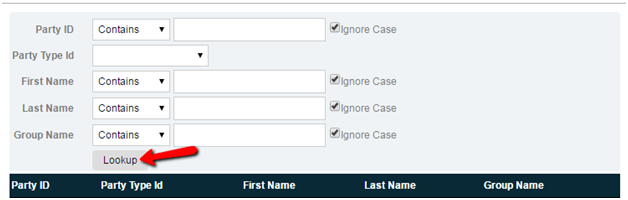
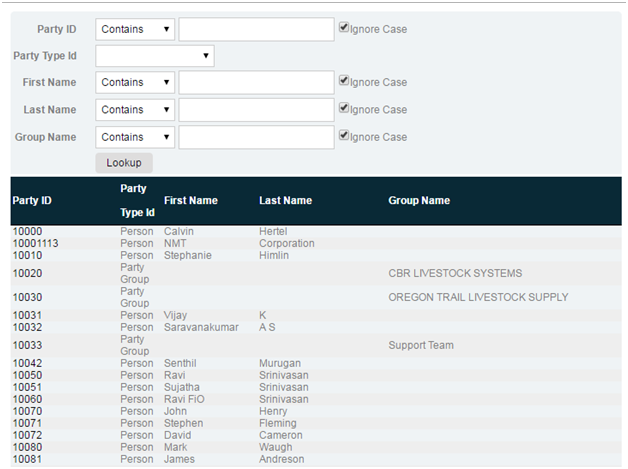
5. If you don’t know the PARTY ID, click the icon beside the search bar. A new window will pop up, provide whatever details you have and click “LOOKUP”.
6. If in case, you do not have any details at all; just click the “LOOKUP” button right away. It will load a page with the list of all PARTY IDs. Click on your desired PARTY ID.
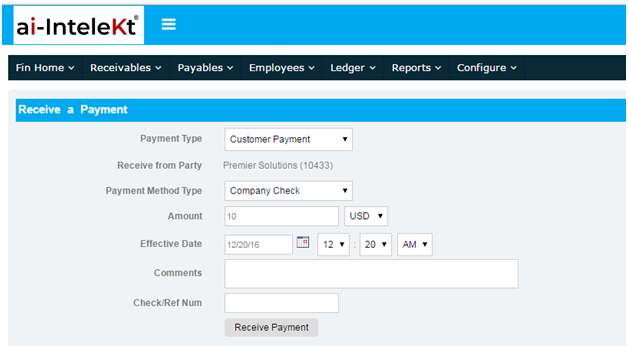
7. You will be directed to this page.
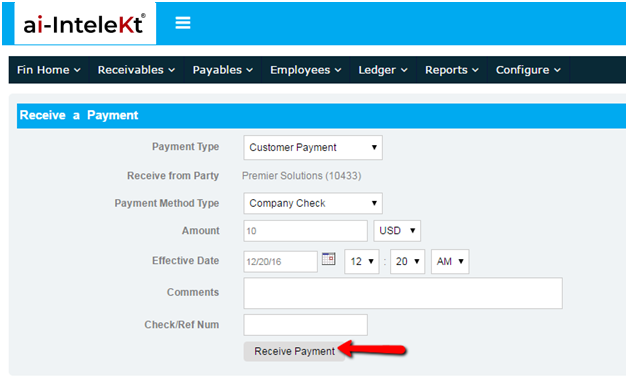
8. Provide all necessary details then click “RECEIVE PAYMENT”.
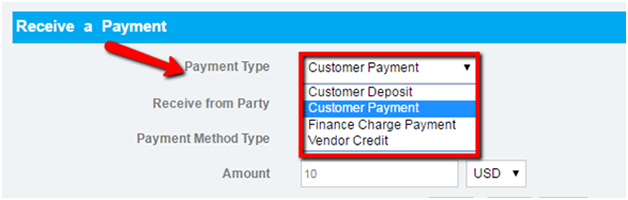
a. Choose the Payment Type.
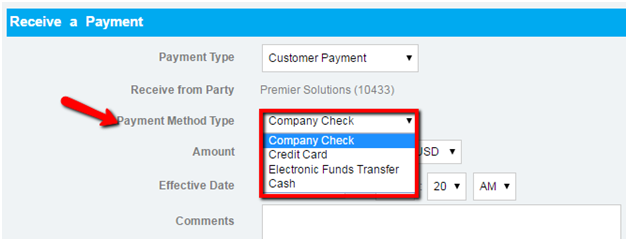
b. Choose Payment Method Type.
c. Amount to be paid, and the currency
d. Date of Payment
e. Describe the nature of the payment
f. Check or Reference Number
g. Optional fields: Division Tag, Income Payment Type, VAT Type, VAT Transaction Type
9. Click “RECEIVE PAYMENT”.
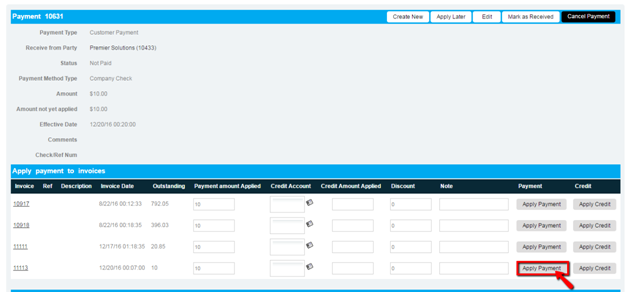
10. You will be redirected to this page. Below the Payment Section, you will see the APPLY PAYMENT TO INVOICES SECTION. Check if every detail is correct, and then click the “APPLY” button.
NOTE: You must have a Payable Voucher posted in the GL Module first, before you can APPLY PAYMENT, otherwise there will be no item visible in this section.
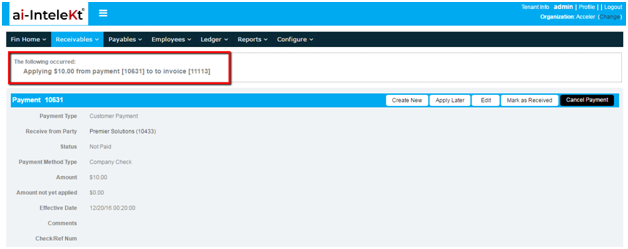
11. A notification will be shown at the top left side of your screen.
12. Once your payment has been applied, click on the “MARK AS RECEIVED” button found at the right side of the Payment Section to post this transaction in the GL module.
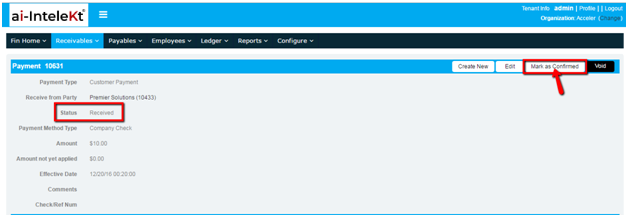
13. Notice that the status of your payment has been changed from “NOT PAID” to “RECEIVED”. Click “MARK AS CONFIRMED” button found at the right side of the Payment Section.
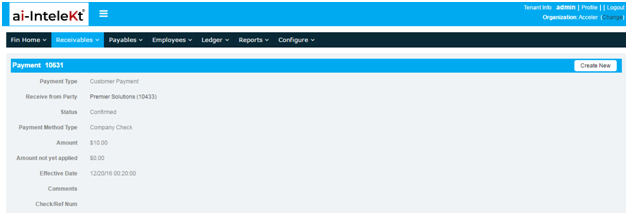
14. You’re done! You will be directed to this page wherein you can view your Payment Details.