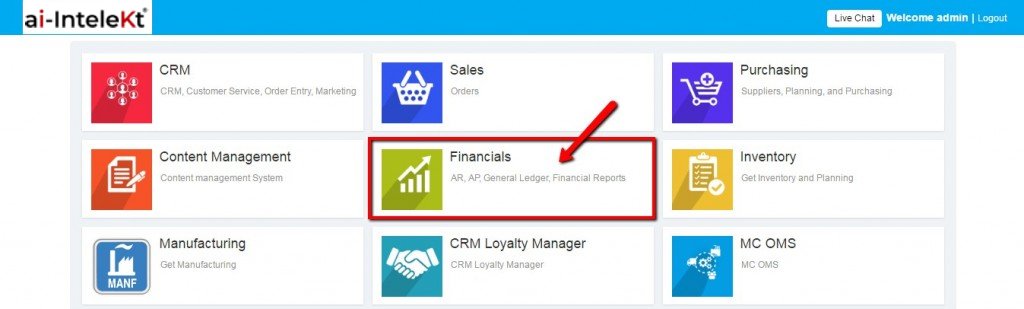


To create a GL Transaction Entry, Login to the application, select “Financials” module.
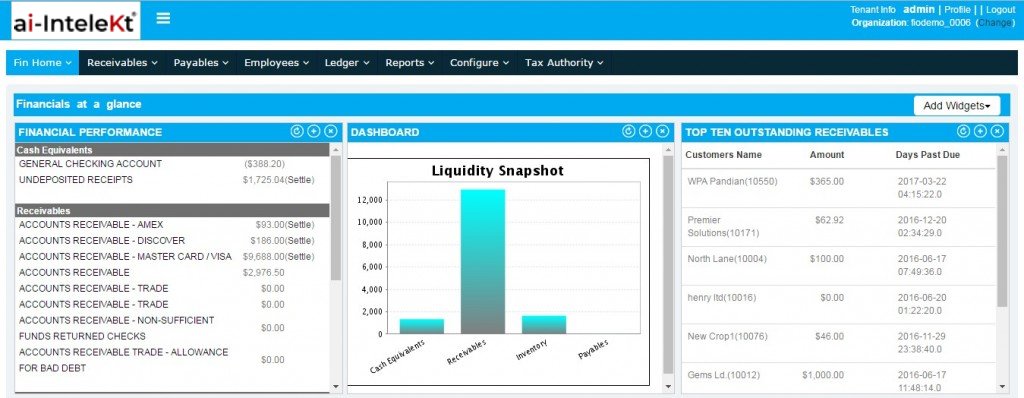
Financials home page will be displayed.
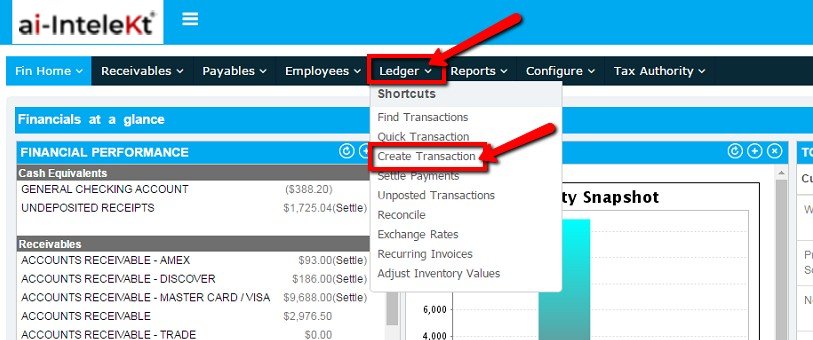
To create a GL Transaction, select “Create Transaction” link from “Ledger” tab.
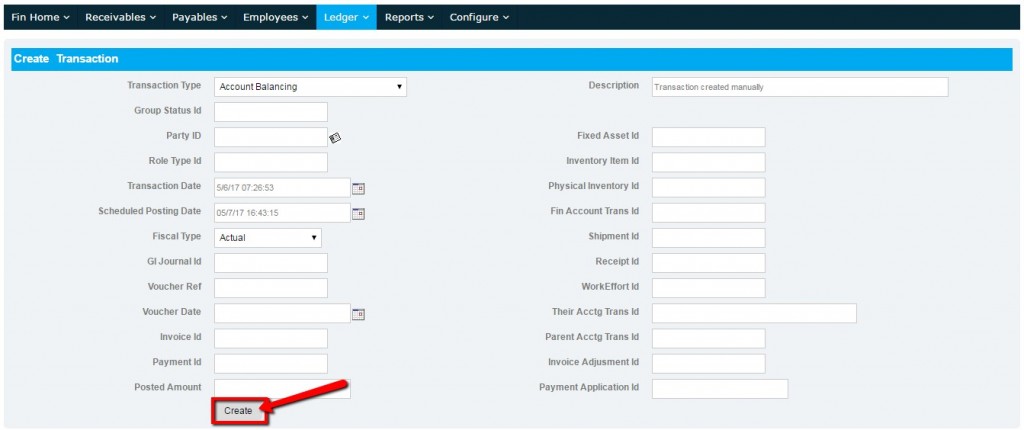
Create Transaction page will be displayed.
In Create Transaction page, enter the following details and click on “Create” button:
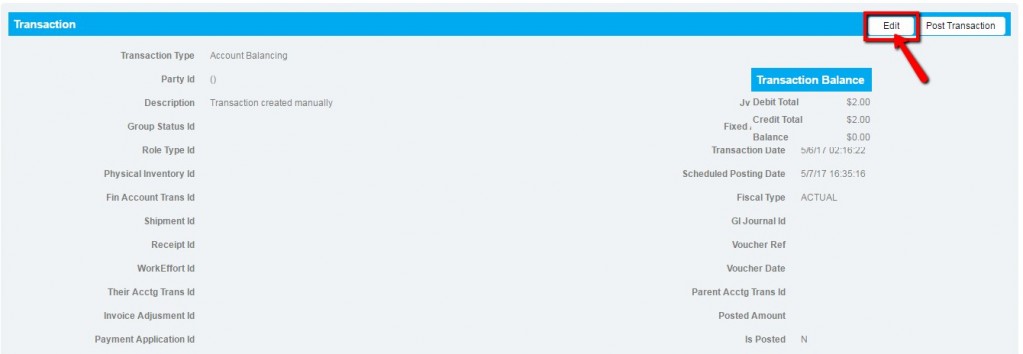
Transaction will be created and the system will navigate to ‘Transaction’ page.
To update the transaction, select “Edit” button in transaction page.
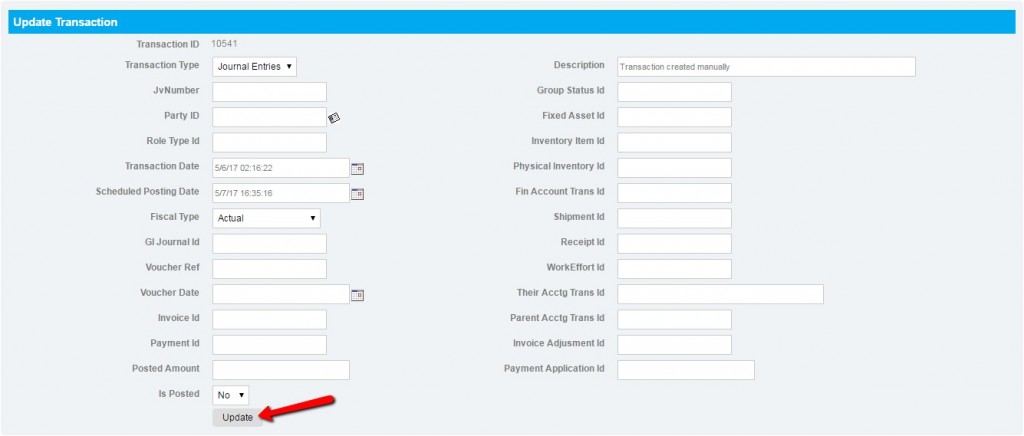
You can edit the required details in Update Transaction page and click on “Update” button. The edited details will be updated.
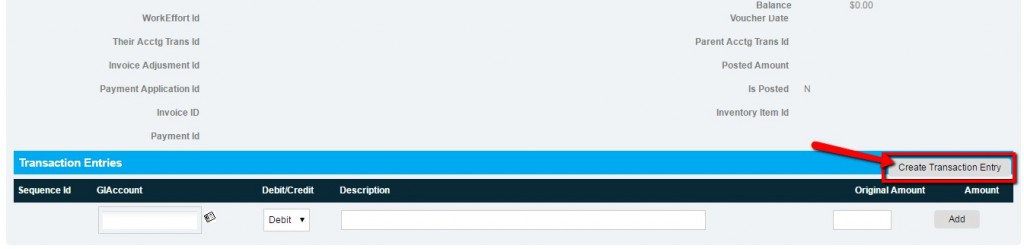
To create transaction entry, select “Create Transaction Entry” button in Transaction page.
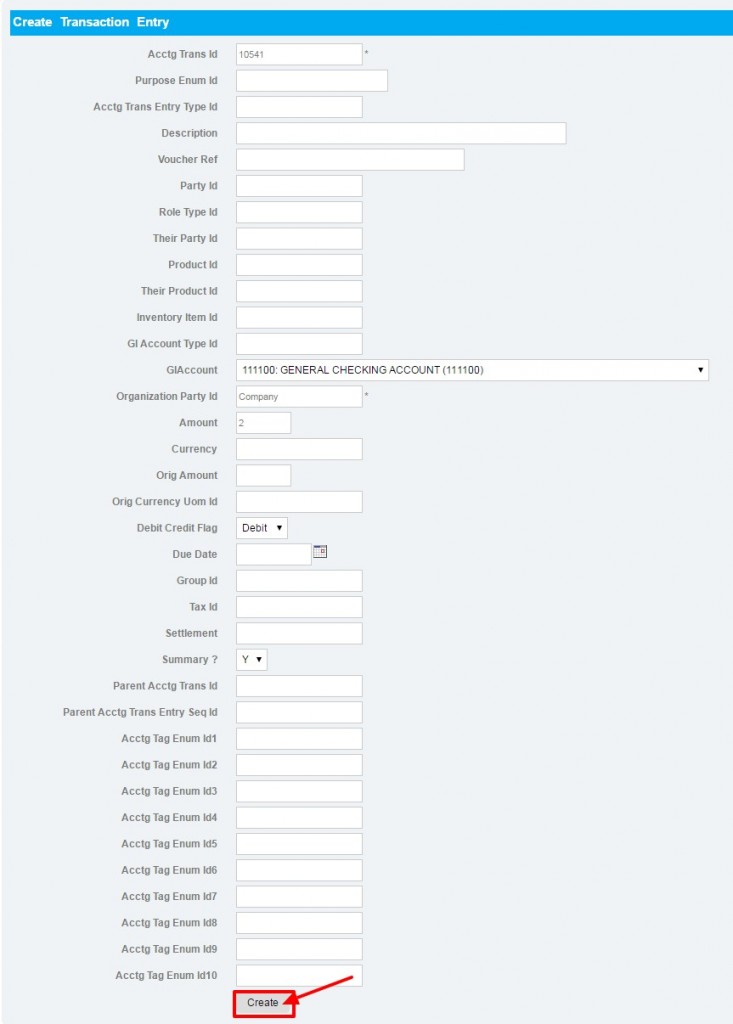
In ‘Create Transaction Entry’ page, enter the following details and click on “Create” button.
Once transaction entry is created, it can be viewed in transaction page.
You can add any number of transaction entries.
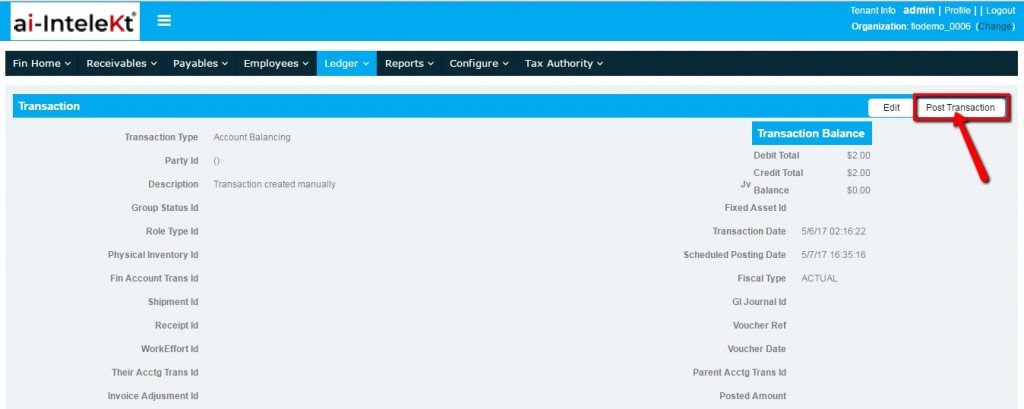
To post the GL Transaction, In Transaction page select “Post Transaction” button.
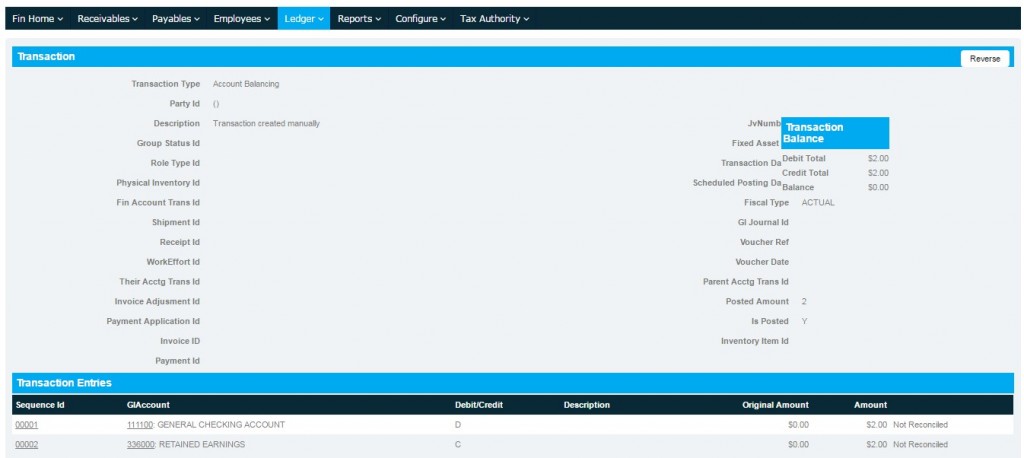
Once the transaction is posted, ‘Y’ will be displayed in ‘IsPosted’ field.
Note: The transaction can be posted based on the Scheduled Posting Date entered for transaction.
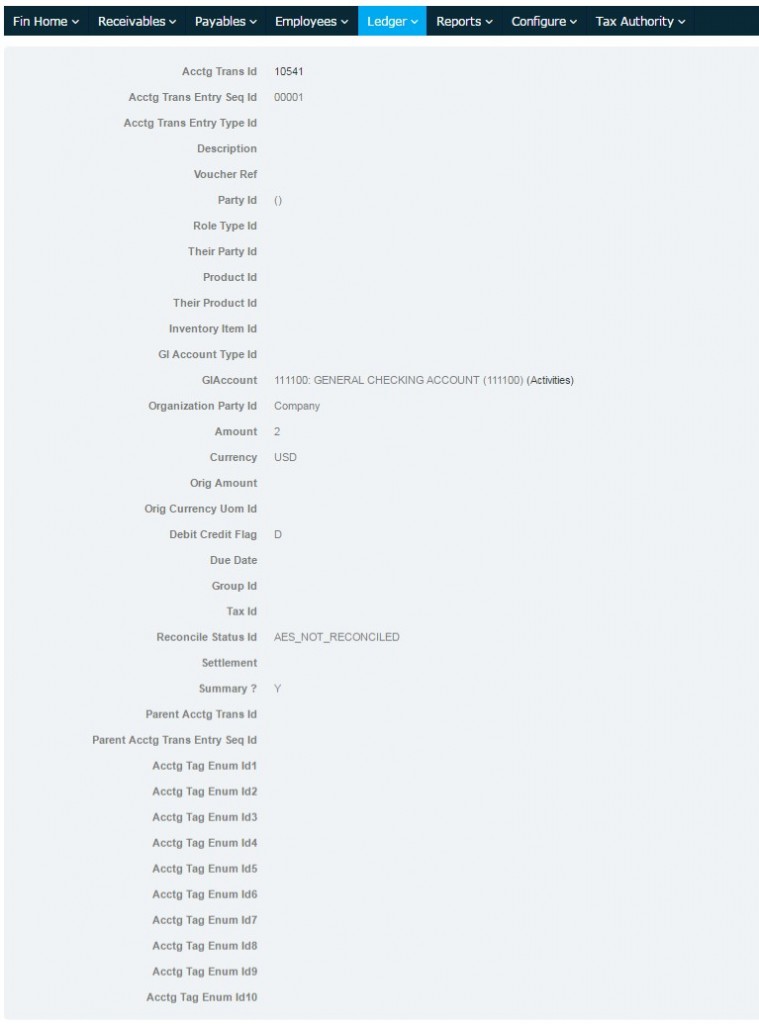
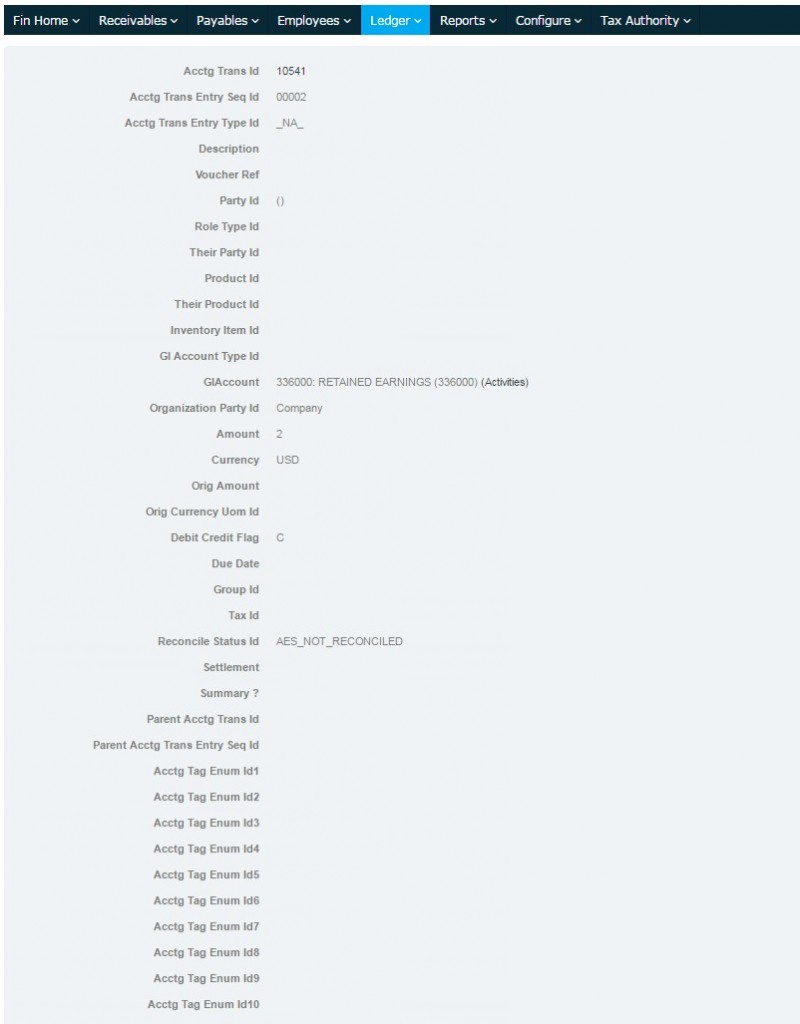
Click on “Sequence Id” to view the Transaction entries details.
Transaction entry details.